

A Sell Ores gear tier list is useful only when it helps you choose what to improve next. The right choice depends on whether your current run is limited by mining speed, processing, storage, drone uptime, access to another ore band, or the cost of a modifier. A rare-looking item is not automatically the best upgrade.
This guide ranks gear by role and by the bottleneck it can solve. It does not publish a permanent S-to-D list of named equipment because exact item effects, prices, and balance can change, and the public information checked for this page did not provide a current complete stat table.
Start with the role
Sell Ores gear tier list by role, not rarity
Use these tiers to sort decisions, not to claim that a particular named drill or item is always best. A role is easier to verify than a screenshot ranking because you can connect it to an observable result: fewer idle seconds, less overflow, a steadier sale, or a newly reachable area.
A useful tier changes with your base. Early on, a dependable income loop usually beats a high-variance modifier. Later, a specialized item can move up when the supporting systems are ready and its displayed effect addresses the limit you measured.
A tier: reliable throughput
Prioritize a gear role that improves the slowest repeatable part of mining, processing, storage, or delivery. It should help across ordinary runs, not only a lucky drop.
B tier: progression access
Move an access-focused upgrade up when the next area is affordable and your current route is already stable. Check that the purchase unlocks a usable ore band rather than an idle destination.
C tier: value or mutation utility
Consider coatings or mutation tools after the base can process the result and you can explain the experiment. Their value depends on the item, cost, and current effect.
D tier: convenience and acceleration
Treat time skips and convenience as situational. They cannot repair an empty mine, blocked storage, or a bottleneck elsewhere in the loop.
The letter groups describe when a role is worth considering. They are not official Sell Ores rarity tiers, item names, or a claim that one specific piece of gear beats every alternative.
Make the list fit your base
How to rank your Sell Ores gear setup
A useful personal ranking starts with a bottleneck rather than a shopping list. Watch a normal run from mining through processing and selling. Note where work waits, where items pile up, and which action you repeat most often. That observation tells you which equipment category deserves a test.
Next, read the item's current in-game description and cost. Separate a displayed effect from your expectation: an item name, color, rarity, or community screenshot does not prove a particular multiplier. If the description is vague, treat the result as unknown until you compare it in play.
- Name the limitChoose one visible problem: slow mining, idle processing, full storage, interrupted drone work, or an access gate.
- Select one rolePick the gear category whose displayed purpose matches that problem. Avoid changing a drill, coating, and pet at the same time.
- Set a baselineObserve a typical cycle before buying or swapping. Note the sale result and where waiting or overflow occurs.
- Compare like with likeRepeat a similar route and hold other choices steady. A rare ore or event boost can distort one run.
- Keep or revertKeep the change only when the improvement repeats and does not create a new bottleneck.
Use a fair comparison
Test Sell Ores gear before committing resources
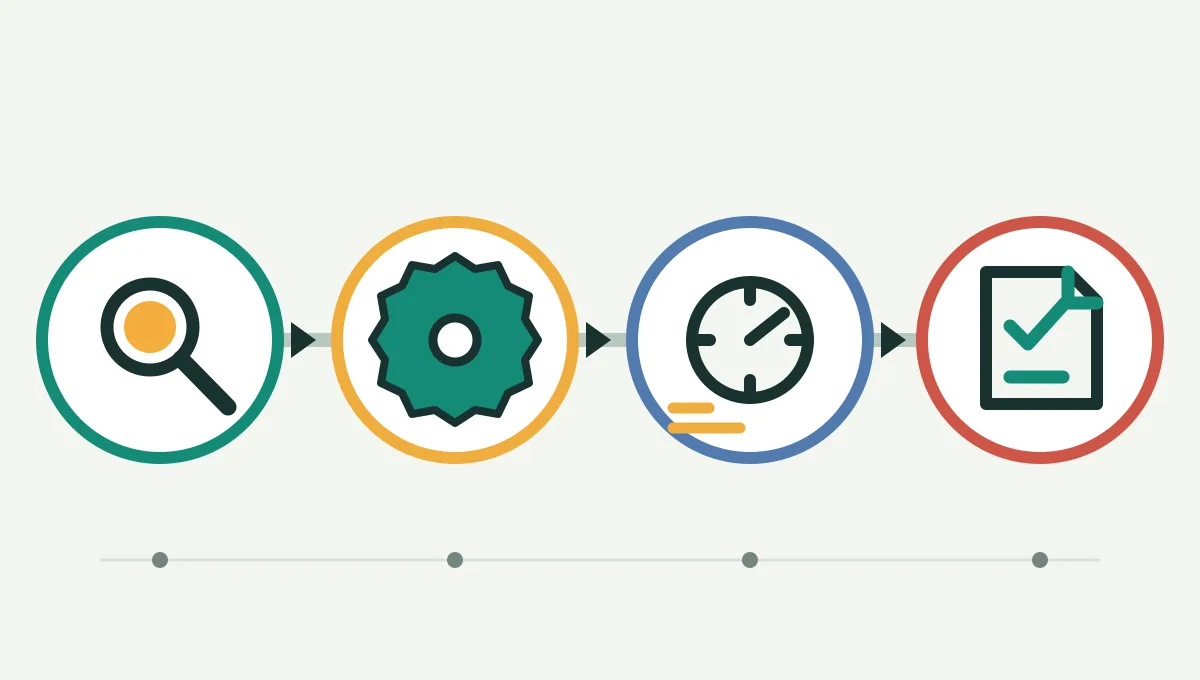
A single run is weak evidence in a game with changing drops, server conditions, and possible event effects. Compare several ordinary cycles when practical. Use the same mine area, similar starting conditions, and the same sale point so the gear change is the main difference.
Measure the outcome that matters to your goal. If you want more cash flow, compare completed sales over a similar play period. If storage is the issue, note overflow and idle time. If you want access, confirm the purchase actually opens the next route and that your setup can use it.
| Record | Why it helps | Keep it consistent |
|---|---|---|
| Gear and displayed effect | Shows what actually changed | Use the exact current item description |
| Route and starting state | Separates gear from area differences | Choose a familiar, repeatable route |
| Sale or waiting outcome | Connects the test to your bottleneck | Measure the same outcome each run |
| Date and server context | Makes old notes easier to spot | Recheck after updates or major changes |
A rare ore, short event, or unusually smooth server can make a setup look stronger than it is. Repeat the comparison before calling the upgrade a top-tier choice.
Spend in sequence
A safe Sell Ores gear upgrade order
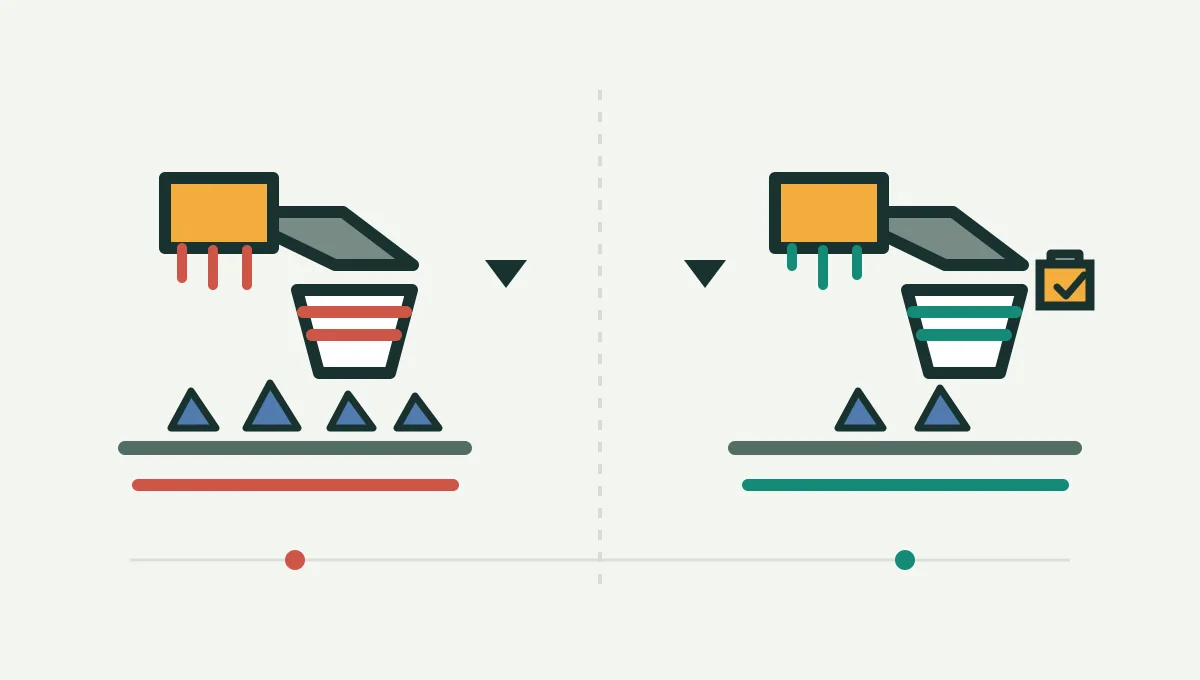
The best upgrade order follows dependencies. More mining output is wasted when storage is already full; more processing capacity is wasted when ore supply is the real limit. Fix the first confirmed constraint, then watch the next cycle again because the bottleneck may move.
Keep a cash buffer so one experiment does not leave the base unable to run. If a purchase is expensive or hard to reverse, wait until its effect and the next use are clear. This is especially useful for value modifiers and one-time utility items.
First: keep the loop running
Secure enough mining, processing, storage, and sale capacity for dependable ordinary income before chasing rare effects.
Second: fix the measured bottleneck
Upgrade the slow stage you actually observed. Recheck after the change instead of assuming the old limit remains.
Third: buy access with a plan
Choose a new area when your cash buffer and equipment can use the unlock. A new destination alone does not improve a blocked loop.
Last: add specialized utility
Use coatings, mutation tools, or acceleration when the setup is ready and the expected experiment is worth the cost.
Protect your progress
Common mistakes in a Sell Ores gear tier list
The biggest mistake is treating a ranking as timeless. Item effects can change, community pages may combine different versions, and a screenshot often omits the player's route or other bonuses. Check the current description and date before using a precise claim.
Do not spend a scarce item just because a list places it near the top. Verify its use, preserve enough cash to continue playing, and change only one variable when you test. If the live result disagrees with an old guide, trust the current game and update your notes.
- Do not treat rarity color as proof of practical value.
- Do not compare screenshots from different patches as one ranking.
- Do not change several gear roles in one test.
- Do not buy speed before checking storage and processing capacity.
- Do not assume a coating or mutation stacks with another effect unless the game confirms it.
- Do keep the date and conditions beside any exact stat you record.
Evidence and limits
How this Sell Ores gear guide handles changing data
This independent fan guide uses the site's existing role-based equipment notes and the visible structure of the live game as its scope. The available public information did not establish a complete, current equipment table for this page, so it avoids made-up item stats, prices, and fixed named rankings.
The recommendations are experience-based decision rules, not official developer balance advice. Confirm each item's name, cost, and effect in your own current server. If you publish a personal test, include the date, route, and relevant setup so another player can understand its limits.
Source to check in game
The official experience is the first-party place to open the live game. This guide does not claim that its public listing contains a current gear-stat table.
- Sell Ores on RobloxOpen the experience and confirm item descriptions and results in the current server.
Common questions
Sell Ores gear tier list FAQ
What is the best gear in Sell Ores?
There is no single best choice for every base. Start with the role that fixes your measured bottleneck, then confirm its current effect and compare similar runs.
Does Sell Ores have an official gear tier list?
This guide did not verify an official permanent tier list. Its letter groups are an editorial priority model, not developer-published item tiers.
Should I upgrade my drill or storage first?
Watch a normal cycle. If ore waits before processing or storage fills, improve that stage before adding more mining speed. If the drill is idle for lack of ore, test mining output.
Are coatings and mutation items part of gear?
They are useful equipment or value-modifier decisions, but they should be ranked by a specific use and current displayed effect. They are not automatic upgrades for every ore.
How can I compare two gear upgrades fairly?
Keep the route and other choices steady, change one item or role, and compare several ordinary cycles using the same outcome. Record the date and server context.
Why does faster gear sometimes earn less?
Extra output can wait in full storage, exceed processing capacity, or fail to reach the sale stage. Compare the complete loop rather than mining speed alone.
The short version
Rank the bottleneck, then retest
Use this Sell Ores gear tier list as a role-based starting point: stabilize cash flow, fix the confirmed throughput limit, plan access, and add specialized utility only when its use is clear. Verify current details in game and keep dated notes when conditions change.